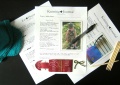
Project Specs
Pattern: Cupcake designed by Eva McDonald
Pattern Source: Blah, Blah, Blahhhg
Yarn: Patons Classic Merino Wool in Chestnut and Petal Pink; Cascade 220 in #8010 Natural, #2439 Gelato, and #8905 Robin Egg Blue; less than 10g each color per cupcake.
Needles: Clover bamboo double pointed needles size US5
Cast On: 4/6/2010
Finished: 4/7/2010
Finished Size: 3" tall
Modifications: Knit first row of increases immediately after casting on (omit the plain knit Row 1). Worked 12 rows rib for cupcake base. Once at frosting, knit 1 row in new color, work increase row and picot edge as neekie did. After joining picot edging, knit 5 rows even. Work first decrease row (k6, k2tog) around. k1 round. 2nd decrease round (k5, k2tog) around, 3rd decrease round (k4, k2tog), continue knitting around knitting one less stitch before decrease ending with last round k2tog all around.
See them on Ravelry!
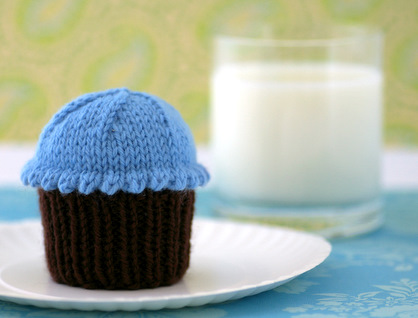
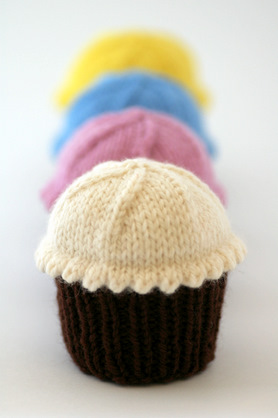
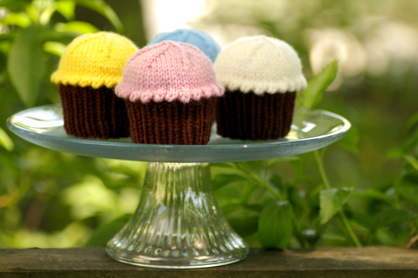
 What bakery would be complete without a selection of scrumptious cupcakes? I made these to go with the chocolate covered strawberries for my niece's birthday gift. I'm a little late in sending off the package, but fortunately these treats don't spoil!
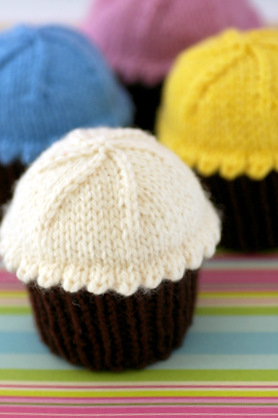
 Just like the strawberries, this cupcake pattern knits up in just a few hours and is perfect for using up small amounts of worsted weight yarn. I chose to leave my cupcakes simple and unadorned, but you could add beaded sprinkles or knit a candle or cherry for the top if you like. Also, there are quite a few different modifications written up on people's Ravelry pages so you should surf through the projects before you start, just in case you find a mod you like. The orignal pattern is written for the frosting to be worked in reverse stockinette, but I chose to follow neekie's mods for a stockinette stitch top and picot edging that makes each cupcake look like it has the perfect buttercream frosting. I plan on making a set of cupcakes with yellow bases and brighter frosting as part of my niece's Christmas gift.
 The pattern calls for the bottom of a plastic water bottle to fit into the base of the cupcake to help it keep its shape. I went searching through my house for a water bottle without any luck, but ended up finding something better! The plastic cups from Jell-O pudding snacks are the perfect size and shape. I had to trim off about half an inch from the top of the cup to make it fit. I secured the cup to the bottom of the cupcake by poking a few holes in the edge of the cup and sewing it to the cupcake base using the matching yarn. There is no need to sew the upper edge of the cup to the side of the cupcake because the stuffing will keep it in place once it's all finished. I also found it best to cover the trimmed edge of the cup with some electrical tape to make sure no rough edges would snag the yarn or poke through to the right side of the cupcake. Now the cupcakes will keep their shape no matter how much they get played with!