|
||
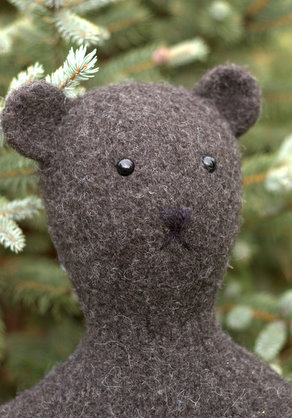
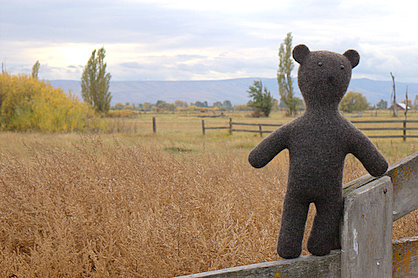
October 15, 2007 - Posted by Grace SchneblyA Bear for DadYesterday Si and I got back from our vacation in Ellensburg, WA. We were there visiting my parents, and it was so nice to see them since we haven’t been together since last Christmas. I didn’t get much knitting done there, but I did finish up a special project which I gave to my dad for his birthday while I was there. He had been asking for a knit teddy bear for a while now, so I took this opportunity to try out the Terra Bear pattern I got a while ago.  Project Specs I found this bear on Ravelry when searching for new felted toy patterns. Once I saw this him, I immediately fell in love with his shape and serious expression. It reminded me of an old-fashioned type teddy bear, and I knew that I had to get the pattern. It’s not available online, which is kind of a bummer, but it was easy enough to email The Fiber Gallery and get one shipped out. With shipping it ended up costing $5.80, five dollars for the pattern and 80 cents for the shipping.
Before felting I used some waste cotton to seam the stuffing hole closed. This isn’t in the pattern, but I make a habit of doing this before I felt any knit toys. It is just to make sure that the two sides of the hole match up evenly. The Ecological wool felted really quickly into a nice firm fabric, but it also shed a lot!! Make sure to use a zippered pillow case to protect your washer. My bear felted after just one agitation cycle, although I could have probably let him go a little longer. There is still faint stitch definition left around his neck and at the ends of his arms and legs, but it isn’t too noticeable. For some reason after felting it looked like his head was turned slightly so that he is always looking to the left. I guess it just gives him personality!
Like I said before, I gave the bear to my dad and he really liked him! He had been not-so-subtly dropping hints at wanting a teddy bear for a few months now, so I am glad it lived up to what he was imagining. I asked him what he would name the bear and he said Teddy, how original huh? Now I really want to make one for myself, and I've already bought a skein of Ecological Wool in Latte! Terra Bear is a great pattern created by an independent designer, and I’d highly recommend it to any knitter.
|
|
|
| © 2007 KathrynIvy.com | ||


