Yarn Dyeing Tutorial
Designed by Alice Schnebly

Supplies
Easter egg dye tablets
Vinegar (I used a whole 32 oz. bottle by the end of the dyeing session)
Aluminum foil or Steamer
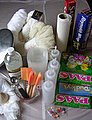 Plastic wrap Plastic wrap
Large pot with lid
Trash bags or newspaper to cover your work surface
Cheap waste yarn
Tablespoon measuring spoon
Pyrex measuring cup
Drying rack
Paper towels
Squirt bottles (Mine are condiment dispensers from the kitchenware section at WalMart)
Foam brushes
Small funnel
Containers for mixing dye
Wool wash
Rubber gloves
Yarn and Dye Preparation
First, you will need to prepare your yarn for dyeing. The yarn I used here is Cascade 220 Wool in white (8505) and cream (8010), and Knit Picks Superwash Wool/Nylon Fingering Weight. You may want to rewind your yarn into larger skeins, but I used my yarn as it came and it worked just fine. Using your waste yarn (I used Caron Simply soft in white) secure your skeins in at least 6 places using a figure-8 style tie. This is a very important step to make sure you don't end up with a tangled mess of yarn at the end of this process. If you’ve wound your yarn into even larger skeins, place ties about every 12 inches. Because my skeins had so much girth to them I did a figure-8 style tie around three sections of yarn.
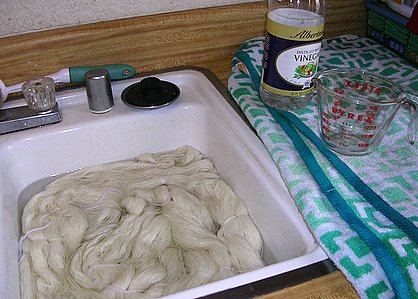
 Fill one side of your sink with about three inches of cold water. Add a cup of vinegar to the water and mix with your hand. If you don’t have a double sided sink in your kitchen, I suggest soaking your yarn in your bathroom sink or a large bucket instead. This allows you to leave your kitchen sink open to place your dyed yarn in once you take it off the stove. Fill one side of your sink with about three inches of cold water. Add a cup of vinegar to the water and mix with your hand. If you don’t have a double sided sink in your kitchen, I suggest soaking your yarn in your bathroom sink or a large bucket instead. This allows you to leave your kitchen sink open to place your dyed yarn in once you take it off the stove.
Once you have your soaking mixture, add your tied yarn hanks and submerge them in the water. Some of the parts of the yarn will above water. Gently push all the yarn down under the water and hold there for about 30-60 seconds. I moved the yarn around in the soak gently every little bit to make sure it was getting good and wet. If you'd like, you can put a weight on top of the yarn to keep it fully submerged. I used a regular dinner plate for the weight. Be careful not to put too much yarn in the soak at a time; I added four 100g hanks at once. After I soaked those I refreshed the mixture with more water and vinegar before adding another batch of yarn. You will need to soak your yarn for at least 30 minutes. I soaked mine for about an hour, and prepared all the dyes while I was waiting.
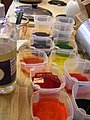 Prepare the dye tablets as directed on the packages. The directions usually tell you to mix 3 tablespoons of vinegar with the tablet to dissolve. Most of the dyeing packages I came across said not to mix the pink, purple, and red tablets with vinegar, instead dissolve these tablets in water. They will not work if you add vinegar, and will become grainy. Make sure you read the package instructions for this step! Prepare the dye tablets as directed on the packages. The directions usually tell you to mix 3 tablespoons of vinegar with the tablet to dissolve. Most of the dyeing packages I came across said not to mix the pink, purple, and red tablets with vinegar, instead dissolve these tablets in water. They will not work if you add vinegar, and will become grainy. Make sure you read the package instructions for this step!
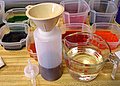 Once the colors are dissolved, you can dilute the vinegar/dye mixture with water to achieve the color you want. I found it was easiest to first add the concentrated dyes to the squirt bottles using the funnel, then add water to dilute the mixture. One dissolved tablet creates a nice, vibrant, color when diluted with water in a 12 oz. squirt bottles. You can always test how your colors look by dripping a little on a dry paper towel. Once the colors are dissolved, you can dilute the vinegar/dye mixture with water to achieve the color you want. I found it was easiest to first add the concentrated dyes to the squirt bottles using the funnel, then add water to dilute the mixture. One dissolved tablet creates a nice, vibrant, color when diluted with water in a 12 oz. squirt bottles. You can always test how your colors look by dripping a little on a dry paper towel.
Prepare your workstation by first covering the area with garbage bags or newspaper. Then place one long piece of plastic wrap horizontally and three pieces vertically across the table or work surface. This will make it easy to wrap up your yarn when it is time for it to be steamed. It will also help keep your colors separated when changing between color schemes.
Dyeing the Yarn
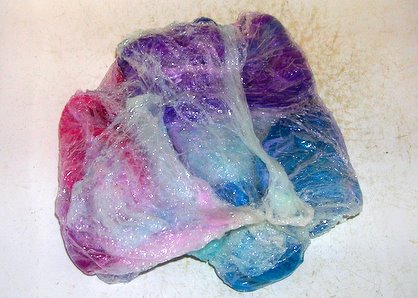
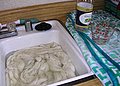
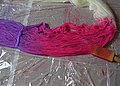 When your yarn has soaked long enough, remove it gently from the water and squeeze it to dry; have a towel handy to remove the excess water. Move it to your prepared surface. With the squeeze bottles, apply the color in any pattern that you would like. Saturating the yarn with extra dye When your yarn has soaked long enough, remove it gently from the water and squeeze it to dry; have a towel handy to remove the excess water. Move it to your prepared surface. With the squeeze bottles, apply the color in any pattern that you would like. Saturating the yarn with extra dye 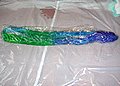 will not make the colors more vibrant, infact excess dye actually hinders the process. Also make sure you don't let dye pool under the yarn. Use the foam brushes to move your yarn around in the dye and to control any of the dye that may be running. Lift up the yarn and squirt dye on any spot that is lacking color. Once your yarn is coated to your liking, wrap it up in the plastic wrap securely. If there is any water dripping out of it, you can place the package in a plastic grocery bag to help transfer it to your stovetop. will not make the colors more vibrant, infact excess dye actually hinders the process. Also make sure you don't let dye pool under the yarn. Use the foam brushes to move your yarn around in the dye and to control any of the dye that may be running. Lift up the yarn and squirt dye on any spot that is lacking color. Once your yarn is coated to your liking, wrap it up in the plastic wrap securely. If there is any water dripping out of it, you can place the package in a plastic grocery bag to help transfer it to your stovetop.
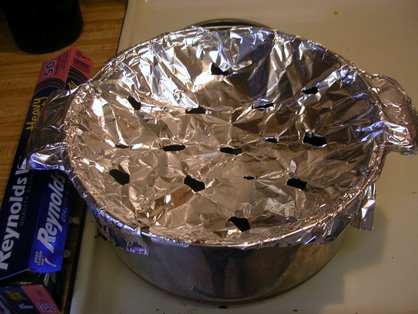
 Fill your large pot with a few inches of water; make sure that your steamer is not touching the water. I don’t have an actual steamer so I used aluminum foil, which I found works well. Place a sheet of aluminum foil across the top of your pan and secure around the handles and sides. Then poke holes in the middle to let the steam through, taking care that they are not too close together or else your foil steamer will break. Turn your burner to high to boil the water. Once a steady stream of steam is rising from the holes in your foil, place your wrapped yarn on top. You can leave it in the grocery bag, or remove and steam it just in its plastic wrap package. Place lid over pot and allow yarn to steam for 30 minutes. Fill your large pot with a few inches of water; make sure that your steamer is not touching the water. I don’t have an actual steamer so I used aluminum foil, which I found works well. Place a sheet of aluminum foil across the top of your pan and secure around the handles and sides. Then poke holes in the middle to let the steam through, taking care that they are not too close together or else your foil steamer will break. Turn your burner to high to boil the water. Once a steady stream of steam is rising from the holes in your foil, place your wrapped yarn on top. You can leave it in the grocery bag, or remove and steam it just in its plastic wrap package. Place lid over pot and allow yarn to steam for 30 minutes.
 To remove yarn, use potholders or tongs to grip plastic bag or plastic wrap and move to sink. Yarn will be VERY hot. Wait until it has cooled down before you handle it or else you will get burned! Once it is cool enough to be handled, remove the yarn from the To remove yarn, use potholders or tongs to grip plastic bag or plastic wrap and move to sink. Yarn will be VERY hot. Wait until it has cooled down before you handle it or else you will get burned! Once it is cool enough to be handled, remove the yarn from the 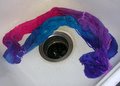 plastic wrap and allow it to further cool in the sink. Next fill the sink with warm or tepid water and add woolwash (optional). Always make sure that you never place your yarn into water that is cooler than it is, this might cause your yarn to felt! Also do not place your yarn under running water. plastic wrap and allow it to further cool in the sink. Next fill the sink with warm or tepid water and add woolwash (optional). Always make sure that you never place your yarn into water that is cooler than it is, this might cause your yarn to felt! Also do not place your yarn under running water. 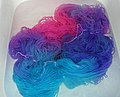 Place your newly dyed yarn in the water and lightly agitate with your fingers to wash. You should not see dye come off your yarn if it has been steamed for long enough. If your yarn does bleed, remove it from the sink, refill the sink with fresh warm water, add a splash of vinegar, and rinse again. None of the yarn that I have dyed using this method has run, so you shouldn't have a problem if you steam it long enough. Place your newly dyed yarn in the water and lightly agitate with your fingers to wash. You should not see dye come off your yarn if it has been steamed for long enough. If your yarn does bleed, remove it from the sink, refill the sink with fresh warm water, add a splash of vinegar, and rinse again. None of the yarn that I have dyed using this method has run, so you shouldn't have a problem if you steam it long enough.
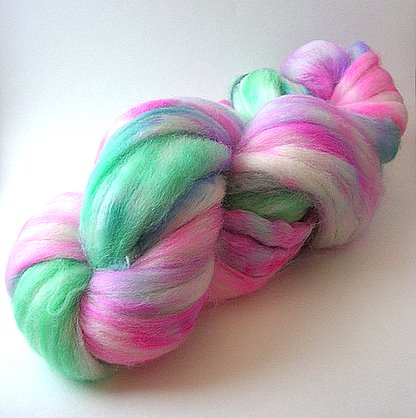
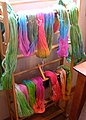 Gently squeeze excess water off the yarn and hang on drying rack to finish drying. You can speed up the drying process by placing the yarn in a zipper pillow case, then running it through the spin cycle of your washing machine. If you don't have a washing machine you can spin it in a salad spinner to get the excess water out. Once it’s totally dry, you can enjoy your gorgeous yarn that you dyed yourself! Gently squeeze excess water off the yarn and hang on drying rack to finish drying. You can speed up the drying process by placing the yarn in a zipper pillow case, then running it through the spin cycle of your washing machine. If you don't have a washing machine you can spin it in a salad spinner to get the excess water out. Once it’s totally dry, you can enjoy your gorgeous yarn that you dyed yourself!
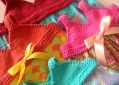
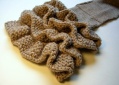
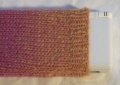
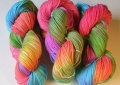
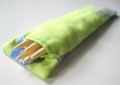
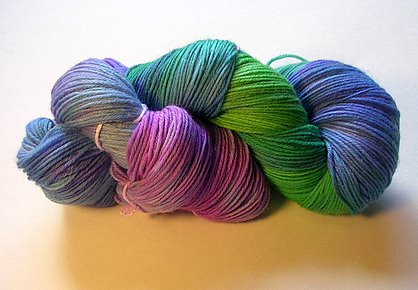
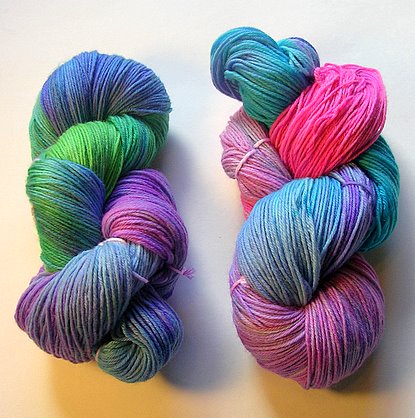
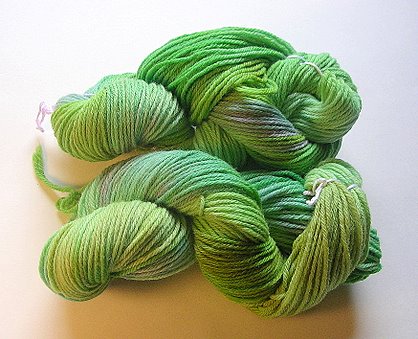
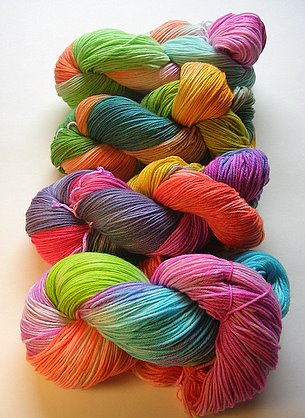
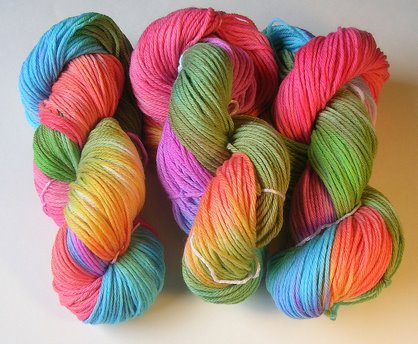
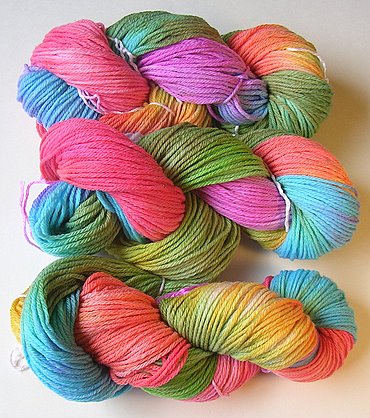
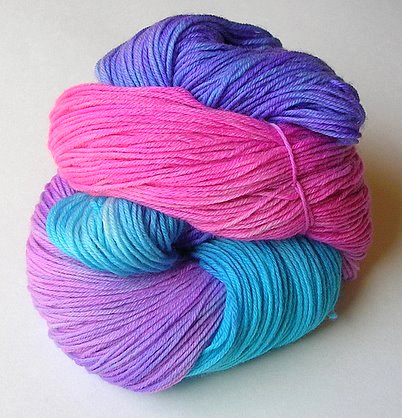
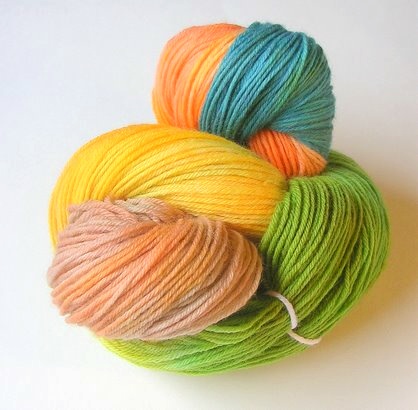
Example Yarns
|